Did you know about these tips and tricks in EthoVision XT?
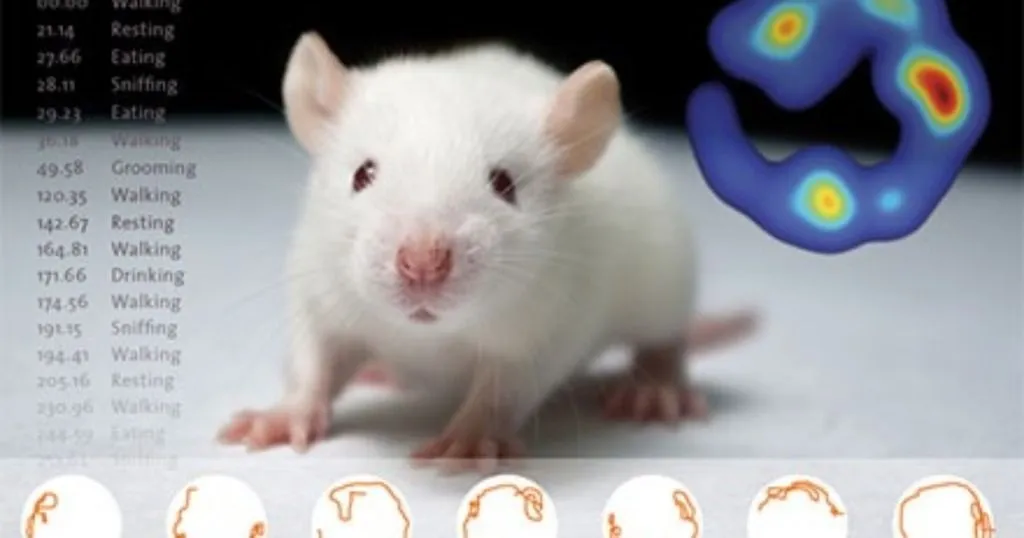
Whether you are a seasoned user of EthoVision XT or just starting out. There is always an opportunity to learn more about the best video tracking software available.
Posted by
Published on
Thu 13 Jun. 2024
Topics
| Behavioral Research | EthoVision XT | Methods And Techniques | Video Tracking |
EthoVision XT, one of the most advanced behavioral tracking softwares, has been around for quite some time now and is used by many scientists of various skill levels. At Noldus we strive to provide software to our users that are both easy to use and have all the capabilities you might need.
However, since EthoVision XT is such an expansive program there are a myriad of features you might have missed. A new user or seasoned veteran, that doesn’t matter: there is always an opportunity to learn more about this great piece of tech.
In this blog post we will go over some of the best features of EthoVision XT that make your research easier and better!
1) Gain a head-start with templates
If you are doing behavioral research and are using standard tests like the Morris water maze or the open field test, there is a good chance you don’t have to do much to get started with EthoVision XT. When you start a new experiment, you can choose to start your experiment from a template.
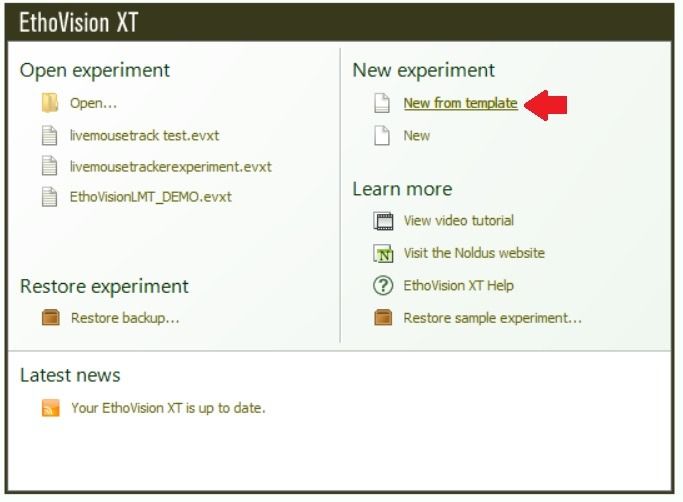
With this template, you can select your subject animal, test, and a variety of other parameters. After selecting, EthoVision XT will help to set-up your experiment in a few clicks. But don’t worry! EthoVision is not a black box, you can still change all the detection settings to perfectly fit your research needs.
Not only can you use the templates EthoVision XT provides, but you can also use your own previous experiments to function as a template for the next. This saves you time and work and makes it easy for anyone in your lab to pick up where you left off. (and also keeps it consistent!).
2) What should I actually measure?
EthoVision XT has many features that can advance your research. However, this great variety of features can also make it difficult to focus on the things you really need. When creating an experiment be very mindful of:
• What are you trying to measure? By that we mean the behavioral significance of that data.
• Make sure that all the data that is relevant to your study is tracked. This way, your data set will be focused and clearly defined and make your analysis cleaner, which also reduces the chance of misinterpretations.
Therefore, being aware of all these possibilities within EthoVision XT is very important. Luckily, we have plenty of resources available to help you find your perfect set up! And we are always happy to discuss all the options that EthoVision XT can offer you, for your specific needs.
3) The most optimal detection settings
EthoVision XT can analyze a great variety of animals in many environments. However, to get the most accurate results it is essential that you correctly prepare and set your detection settings. Here are some quick tips to optimize your detection settings.
• Resetting the background
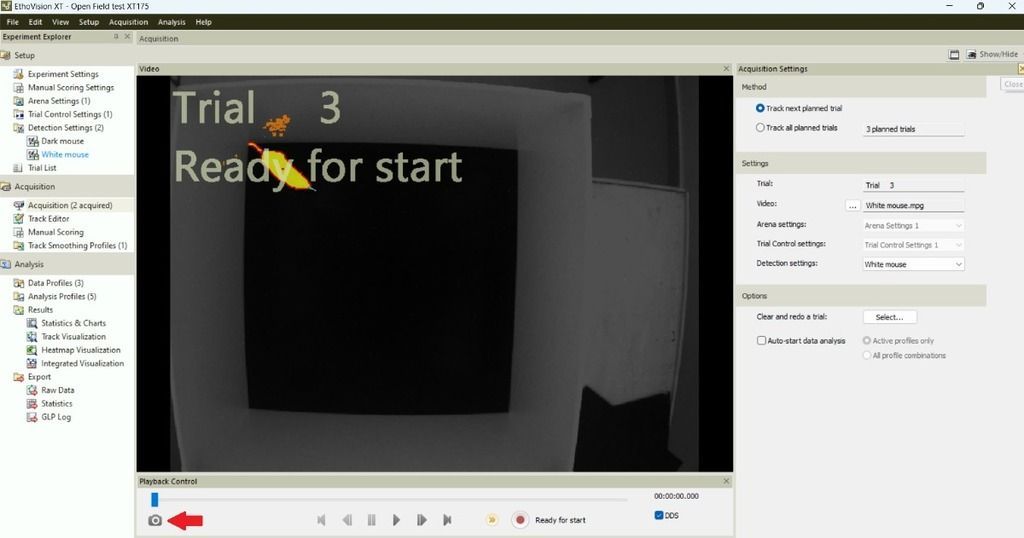
Having trouble with certain objects or reflections in your arena? EthoVision XT has a quick and easy feature to reset the background in the detection settings. Under the playback control is a camera icon. Clicking this icon will reset the background and prevent certain objects from being tracked as a subject. Obviously, only reset the background on a video frame that doesn’t include your subject animal.
• Fixing nose-tail point detection
If you are using pixel based 3-body-point analysis sometimes the nose or tail point can be misinterpreted. To make the detection more accurate you can erode the pixels on the outside of the detected animal. This will reduce the number of “jumps” to body parts that are not supposed to be tracked. Furthermore, making sure that your arena is prepped well and your hardware is up to date is key to proper detection. The lighting of the arena, the distance to the camera and the type of camera are all very important things to consider in your preparation. You can read more about the importance of the type of camera in this blog.
However, some misinterpretations may persist even after erosion and setting everything up perfectly, and for this we have developed a deep learning-based algorithm that can flawlessly track nose and tail points: more on that in the next tip!
4) Use deep learning-based tracking!
Did you know that EthoVision XT can use AI to detect the nose and tail points in rodents? This method is vastly superior to the original contour-based tracking. EthoVision XT uses a trained neural network to very accurately track these nose and tail points. This results in extremely stable detection of the body points and therefore really takes your research to the next level, and simply much more efficient!
Don’t worry, from EthoVision XT 16 and onwards, deep learning is part of the base version! You do need a graphics processor (GPU) in your workstation to handle the computations.
Deep learning-bases detection is ideal for any researcher doing research on rodent behavior, like novel object testing, mazes with holes, or social preference tests.
You can see the difference between the old and new method in this video.
5) Not using a standard test? Use hidden zones!
Some behavioral tests require the animal to enter or exit an obscured area. You can think of a study looking into circadian rhythms, using a CognitionWall, or an arena with more complex structures or hiding spots (for example a visual burying system), or even the ‘darker’ enclosed part of an elevated plus maze. When an animal enters one of these holes it is usually obscured from the camera and therefore no tracking data can be obtained.
Hidden zones can be implemented in the detection settings as a separate zone group. Each hidden zone is accompanied by an entry zone. This entry zone is the part of the hidden zone where the animal enters the zone (for example the entry hole to a shelter). If the animal disappears from the camera’s view while in the entry zone it is counted as in the hidden zone. Then, when the animal comes out of the hidden zone normal tracking resumes.
Hidden zones are very useful when performing these types of behavioral tests. If you want to learn more about hidden zones and want a step-by-step guide on how to make them? We have an great webinar on the ins and outs of hidden zones in our webinar catalog.
6) Noldus is here to help along the way
Even with all the tips we provided there might still be some questions left unanswered or features you don’t know about. Luckily, Noldus has a plethora of resources to help you along.
Last year, we released the NoldusAcademy. Within this learning platform you can learn all about EthoVision XT and its many features by following the Academy training course, ideal for new users like students or seasoned researchers that might need a quick reminder course.
Furthermore, the academy also holds our full library of webinars we have hosted over the years. These webinars cover everything from research applications to technical briefings and scientific discussions. You can access the academy when you are subscribed to NoldusCare. However, you can check out this sample lesson for free.
Moreover, Within EthoVision XT you can find clear explanation videos in the help menu. These videos clearly explain everything from setting up an experiment to analyzing the data.
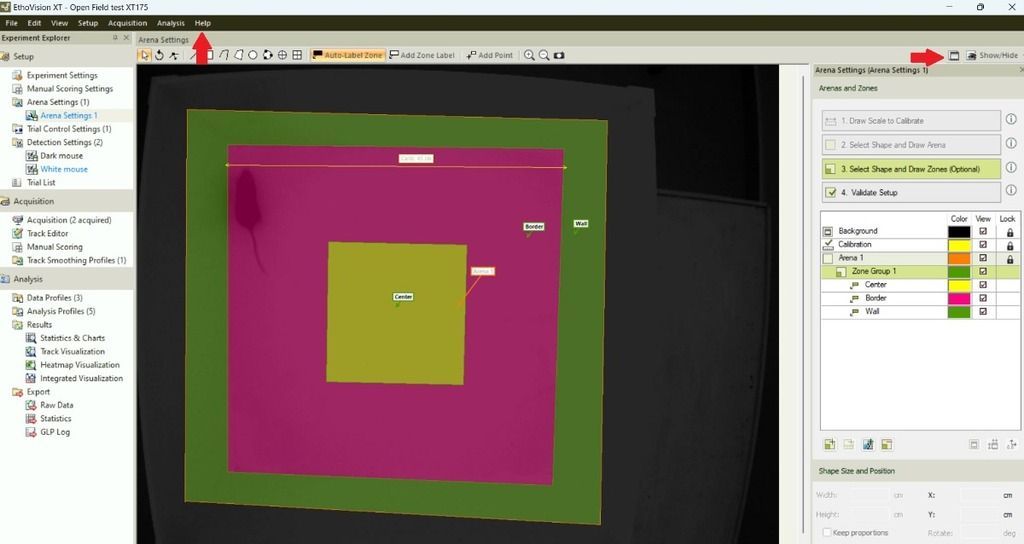
Lastly, if you have any questions regarding EthoVision XT or your research? You can always contact us, and we will help you out.
Related Posts
The impact of handling technique on rodent welfare and scientific accuracy
Mice in the spotlight: why you should perform your tests in a home cage
